
Introduction:
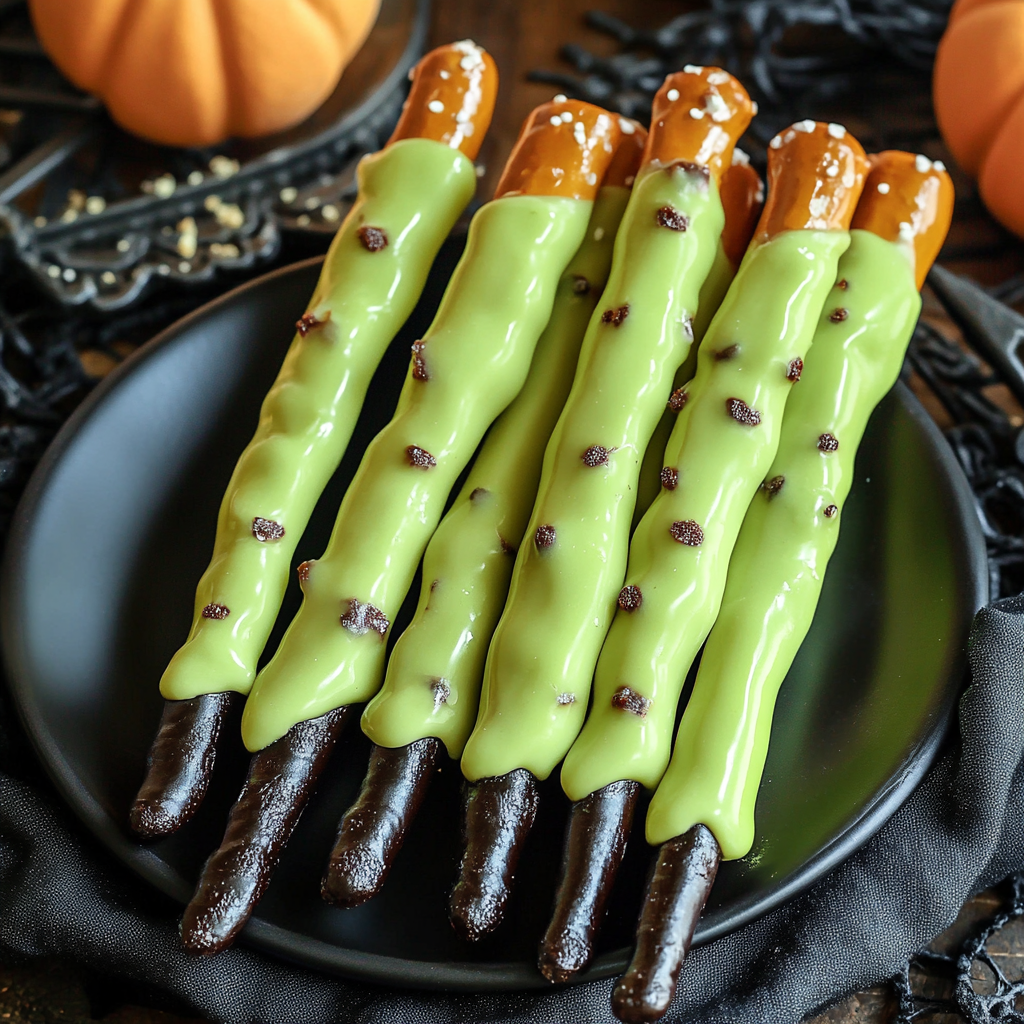
Halloween Witch Finger Pretzel Rods are a spooky and delicious treat that’s perfect for Halloween. These pretzel rods are transformed into creepy witch fingers with a coating of green candy melts, topped with an almond “nail,” and finished with a spooky red “blood” detail.
Why You’ll Love This Recipe:
- Spooky fun: A playful and eerie treat that’s perfect for Halloween.
- Easy to make: Simple ingredients and instructions make this a fun activity for kids and adults.
- Delicious and crunchy: The combination of pretzels and candy melts is both tasty and satisfying.
Ingredients:
- 12 pretzel rods
- 1 cup green candy melts (or green chocolate chips)
- 12 whole almonds
- Red candy melts (for “blood” effect)
- 1 tablespoon vegetable oil (optional, for thinning candy melts)
- Sprinkles or edible glitter (optional, for extra decoration)
Instructions:
- Prepare the Pretzels:
- Line a baking sheet with parchment paper or a silicone baking mat.
- Melt the Green Candy:
- In a microwave-safe bowl, melt the green candy melts according to package instructions. Stir until smooth. If the candy is too thick, add a tablespoon of vegetable oil to thin it out.
- Coat the Pretzels:
- Dip each pretzel rod into the melted green candy, covering about 3/4 of the pretzel to resemble a witch’s finger. Gently shake off any excess candy.
- Place the coated pretzels on the prepared baking sheet.
- Add the Almond “Nail”:
- While the candy coating is still wet, press a whole almond onto the tip of each pretzel rod to create the appearance of a fingernail.
- If desired, sprinkle with edible glitter or sprinkles for extra decoration.
- Add the “Blood” Effect:
- Melt the red candy melts in a microwave-safe bowl. Drizzle a small amount of the red candy over the base of each almond to create a “blood” effect. You can also use a piping bag or a plastic bag with a small corner cut off to drizzle the red candy.
- Cool and Set:
- Allow the pretzels to set at room temperature or place them in the refrigerator for a few minutes to speed up the hardening process.
- Serve:
- Once the candy coating is set, the witch finger pretzels are ready to serve. Enjoy the spooky treats!
Tips for Success:
- Melting Candy: Be sure to melt the candy in short intervals in the microwave to prevent burning. Stir between intervals for even melting.
- Decorations: Get creative with additional decorations such as edible eyes or black sugar for extra spookiness.
Recipe Variations:
- Different Colors: Use different colored candy melts to create various spooky effects.
- Chocolate Coating: For a different flavor, use dark or milk chocolate instead of green candy melts.
Serving Suggestions:
- Serve these witch finger pretzels at Halloween parties, school events, or as a fun treat for kids.
- Pair with other Halloween-themed treats for a complete spooky spread.
Freezing and Storage:
- Storage: Store the pretzel rods in an airtight container at room temperature for up to 1 week.
- Freezing: These treats can be frozen for up to 1 month. Freeze in a single layer, then transfer to an airtight container.
Special Equipment:
- Microwave-safe bowls for melting candy.
- Piping bag or plastic bag for drizzling the red candy.
FAQ:
- Can I use other types of candy melts?
Yes, you can use any color of candy melts or chocolate chips that you prefer. - How can I make these treats in advance?
You can make the witch finger pretzels a few days ahead of time and store them in an airtight container.
Preparation Time:
- 20 minutes for preparation and coating.
Cook Time:
- None (just time for cooling and setting).
Total Time:
- 30 minutes (including preparation and cooling).
Nutrition Information (per pretzel rod, assuming 12 pretzels):
- Calories: 150
- Protein: 2g
- Carbohydrates: 21g
- Fat: 7g
- Saturated Fat: 3g
- Cholesterol: 0mg
- Sodium: 180mg
- Fiber: 1g
- Sugar: 15g
Halloween Witch Finger Pretzel Rods

- Prep Time: 20 minutes
- Total Time: 30 minutes
Ingredients
- 12 pretzel rods
- 1 cup green candy melts (or green chocolate chips)
- 12 whole almonds
- Red candy melts (for “blood” effect)
- 1 tablespoon vegetable oil (optional, for thinning candy melts)
- Sprinkles or edible glitter (optional, for extra decoration)
Instructions
- Prepare the Pretzels:
- Line a baking sheet with parchment paper or a silicone baking mat.
- Melt the Green Candy:
- In a microwave-safe bowl, melt the green candy melts according to package instructions. Stir until smooth. If the candy is too thick, add a tablespoon of vegetable oil to thin it out.
- Coat the Pretzels:
- Dip each pretzel rod into the melted green candy, covering about 3/4 of the pretzel to resemble a witch’s finger. Gently shake off any excess candy.
- Place the coated pretzels on the prepared baking sheet.
- Add the Almond “Nail”:
- While the candy coating is still wet, press a whole almond onto the tip of each pretzel rod to create the appearance of a fingernail.
- If desired, sprinkle with edible glitter or sprinkles for extra decoration.
- Add the “Blood” Effect:
- Melt the red candy melts in a microwave-safe bowl. Drizzle a small amount of the red candy over the base of each almond to create a “blood” effect. You can also use a piping bag or a plastic bag with a small corner cut off to drizzle the red candy.
- Cool and Set:
- Allow the pretzels to set at room temperature or place them in the refrigerator for a few minutes to speed up the hardening process.
- Serve:
- Once the candy coating is set, the witch finger pretzels are ready to serve. Enjoy the spooky treats!
Nutrition
- Serving Size: 12 pretzels
- Calories: 150 kcal
- Fat: 7g
- Carbohydrates: 21g
- Protein: 2g
Closing Notes:
These Halloween Witch Finger Pretzel Rods are a spooky and fun treat that adds a bit of frightful flavor to your Halloween celebrations. Enjoy creating and sharing these creepy-cute snacks with friends and family!